
Learn
Build an events feature
An end-to-end resource, programme, editing and API tutorial.
Build one feature from an event resource, selection logic and reusable presentation. The source used for the product screenshots is in the events example.
1. Start an isolated project
Follow Installation. Use a dedicated application repository with its own data, media and users for the example.
2. Define the resource
Create ext/data/events/.meta:
{
  "name": {"singular": "Event", "plural": "Events"},
  "fields": {
    "title": {"name": "Title", "type": "text", "required": true},
    "date": {"name": "Date", "type": "date", "required": true},
    "venue": {"name": "Venue", "type": "text"},
    "published": {"name": "Published", "type": "boolean", "admin_filter": true},
    "description": {
      "name": "Description", "type": "html",
      "buttons": "h2,h3,bold,italic,anchor",
      "media": true, "media_sizes": "sm-90,md-70,lg-60", "admin_col": false
    }
  },
  "sort": {"field": "date", "order": "asc"}
}
Use the admin to create three event records with dates, venues, descriptions and publication enabled. The example repository includes seed records for the same programme.
3. Build a shared event card
Create ext/tpl/card-event/index.tpl:
<li class="card border border-white/15 bg-white/5">
  <div class="card-body">
    <p>[#get item.date#] · [#get item.venue#]</p>
    <h3 class="card-title">[#get item.title#]</h3>
    <div data-nb-edit="events.[#get item.uuid#].description"
         data-nb-edit-options='{"buttons":"h2,h3,bold,italic,anchor","media":true,"media_sizes":"sm-90,md-70,lg-60"}'>
      [#get-html item.description#]
    </div>
  </div>
</li>
The resource supplies content, the card owns presentation, and the route chooses records. Use the same card in another feature without duplicating its markup.
4. Compose the programme route
Create ext/uri/index.tpl:
[#set page-title="Events"#]
[#set body-classes="bg-brand-ink text-white"#]
[#html#]
Create ext/uri/main.tpl:
<section>
  <h1>The programme</h1>
  [#data events filter=published:1 sort=date|asc#]
  <ul class="grid gap-6 md:grid-cols-3">
    [#repeat data.events tpl=card-event#]
  </ul>
</section>
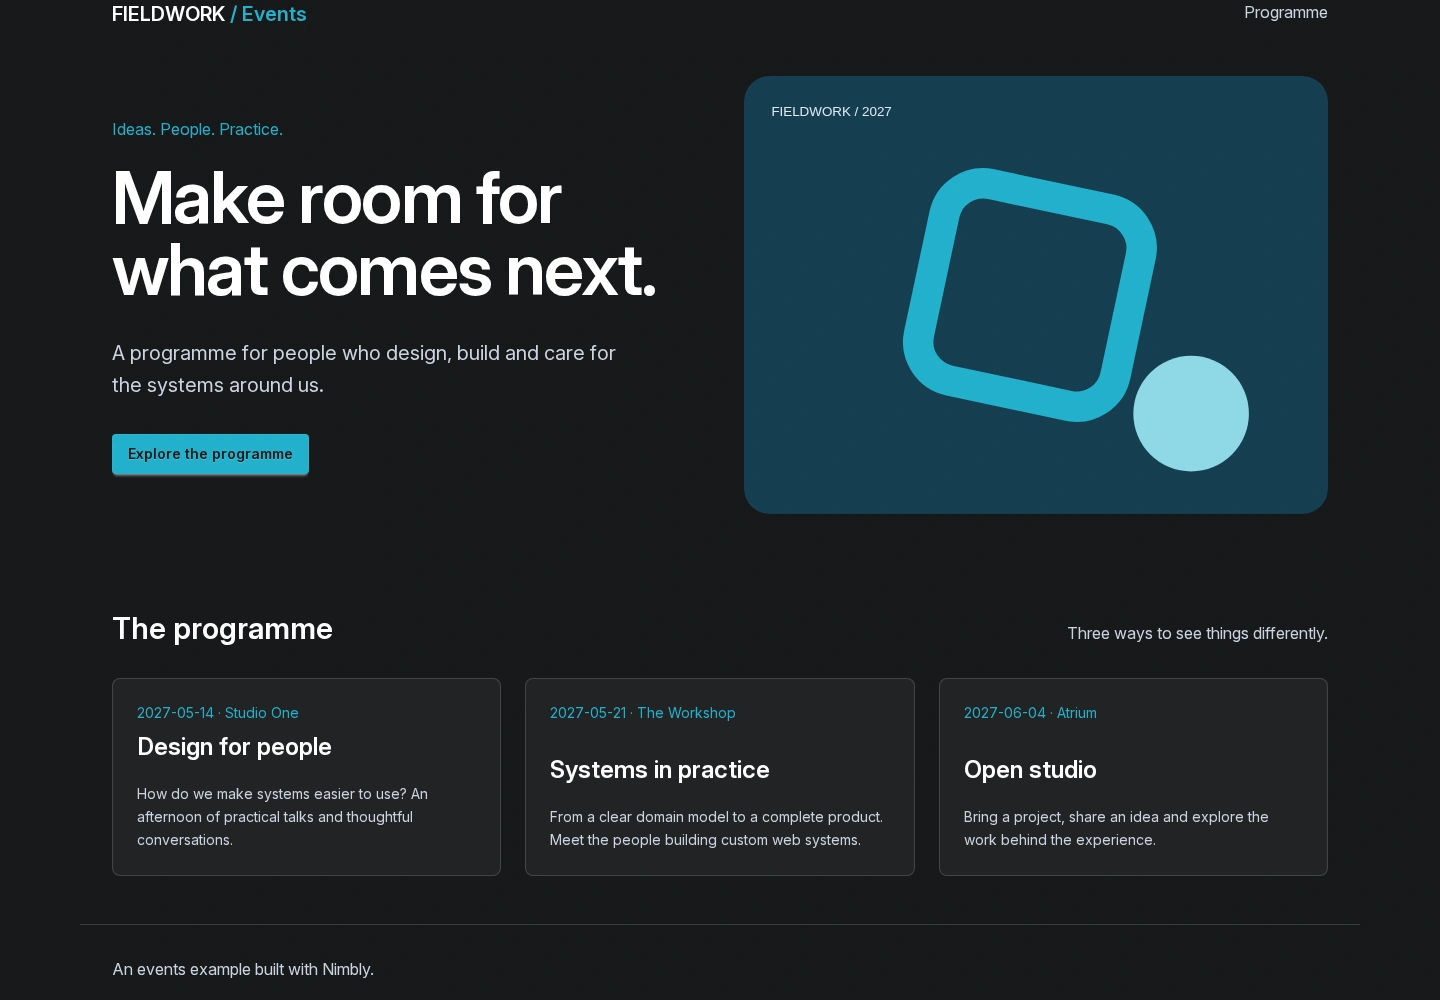
This static route works by convention: Nimbly loads its index.tpl directly from the route folder. The full example also contains a header, footer and opening section. brand-ink and brand-cyan are application theme tokens; define them in your theme or adapt the classes to your own visual language.
Run ./nimbly build so the template classes are included in the generated stylesheet. Open / and confirm that the published events appear in date order. Set one event to unpublished and confirm that it disappears from the programme.
5. Give an editor access
Create a role with view-events, create-events and edit-events. Add view-nimblybar and edit-inline-content for frontend editing. Grant the media permissions needed for the editor's work. Create a user with this role through the standard admin.
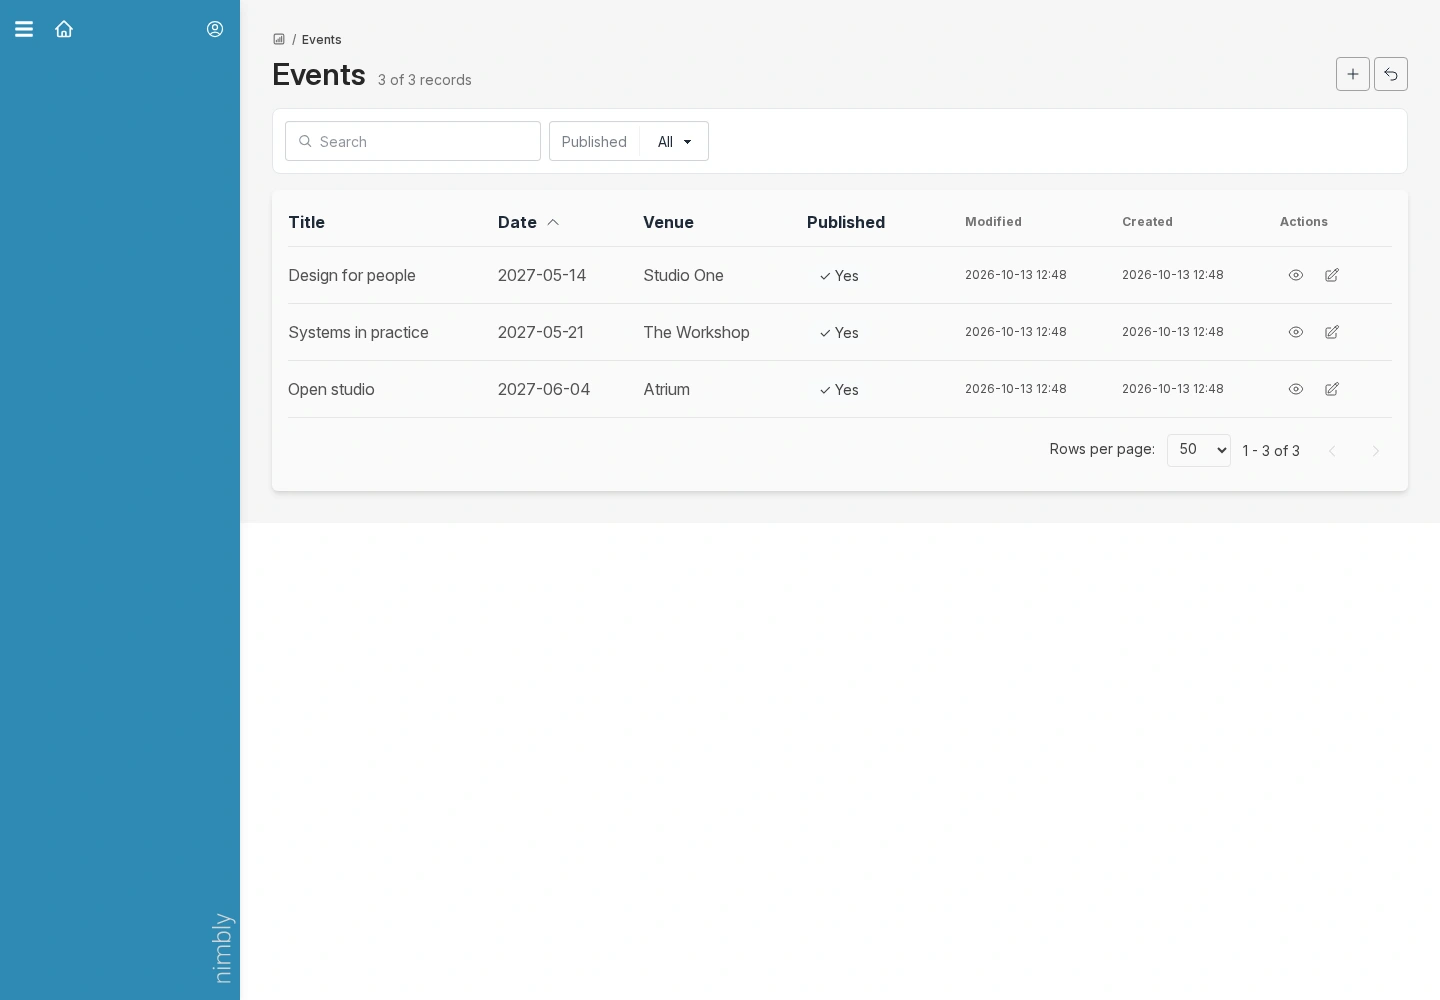
Visit /nb-admin/events/ and edit an event. The resource definition supplies the administration fields. Read the permissions guide before granting broader access.
6. Edit on the public page
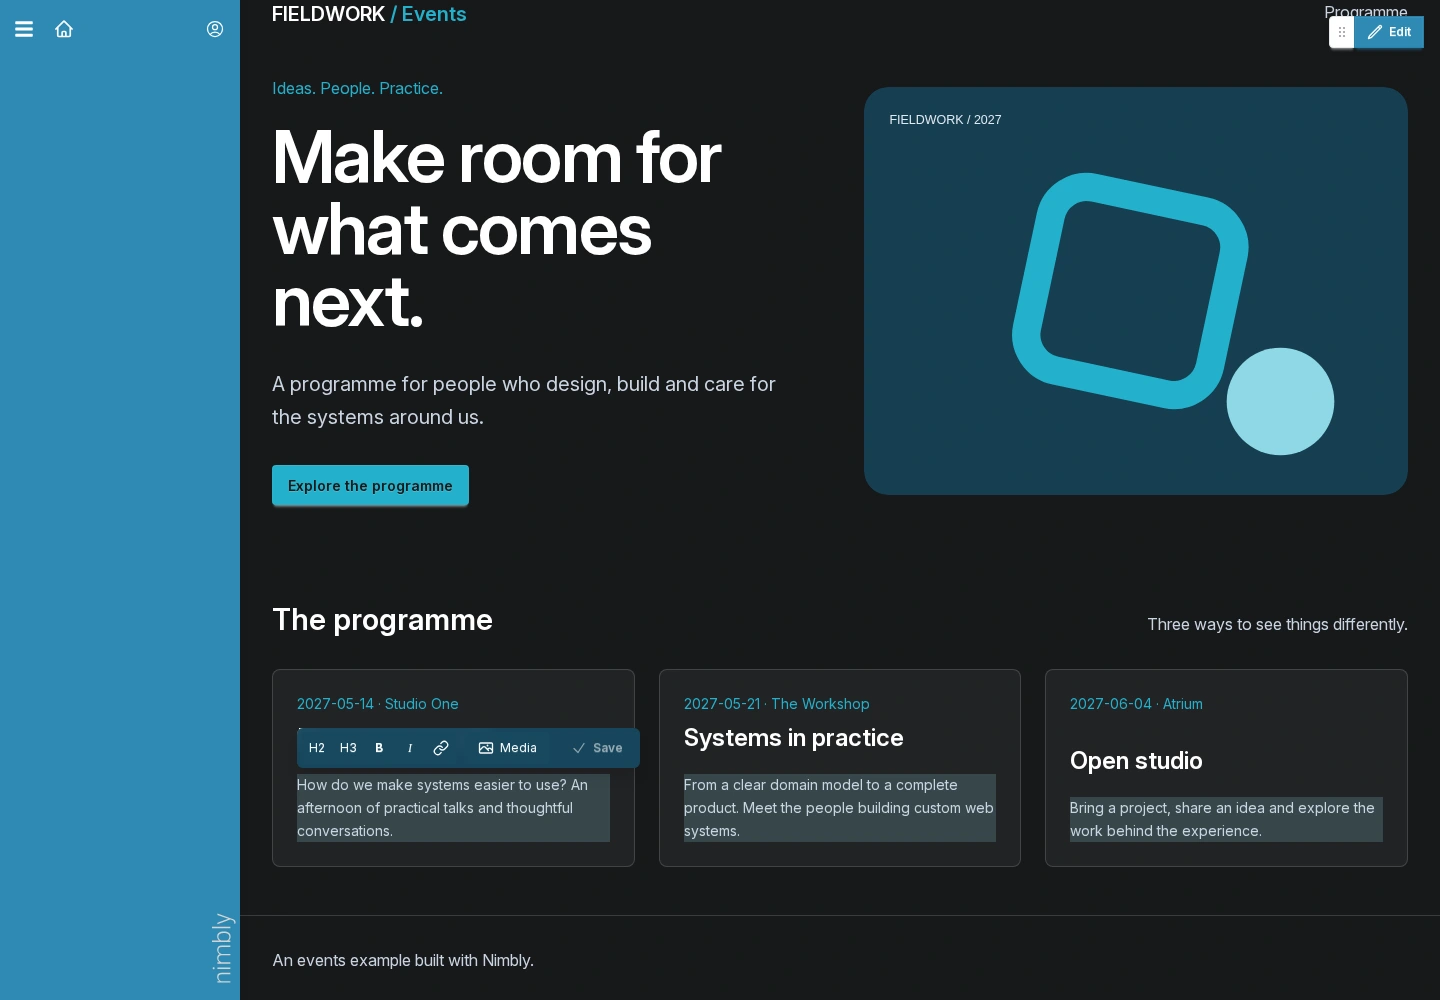
Sign in as the editor, open the programme and use Edit in the page actions control. Focus an event description. The explicit data-nb-edit wrapper supplies the resource, record UUID and field; [#get-html#] renders its rich content. The inline editor saves through the authorized data interface.
Change the text and save. Reload the programme and confirm that the saved text remains. Check the corresponding record in the resource admin as well.
7. Work with media
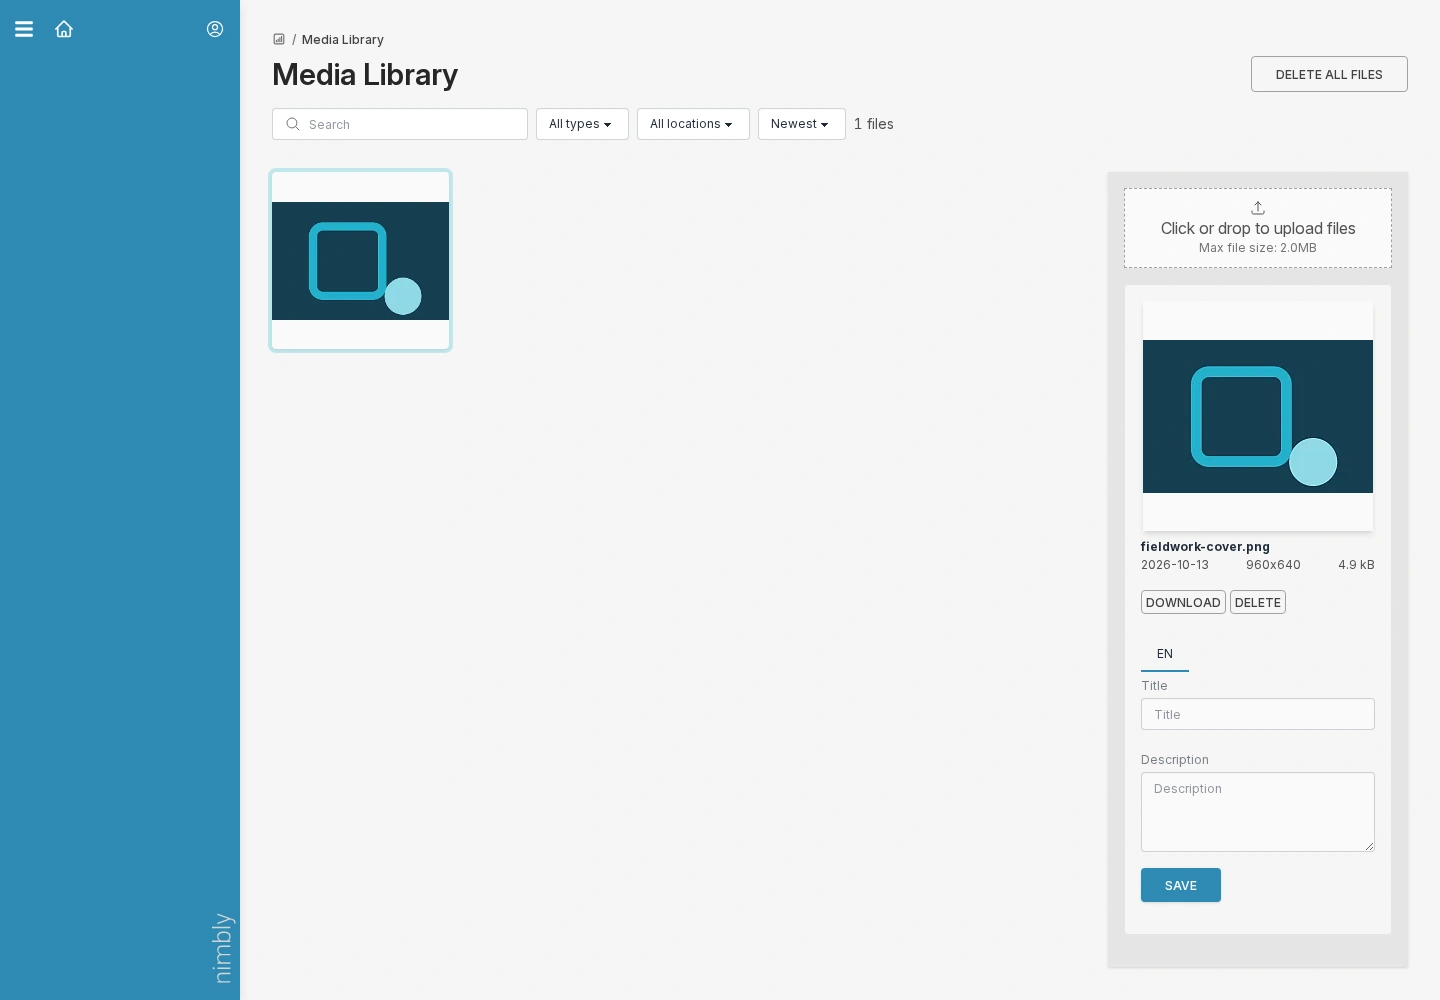
Open /nb-admin/media/ as an authorized editor. Upload the bundled fieldwork-cover.png (or your own image), give it an appropriate description and use it in a rich description through the field's media control. Test the public result and editing access.
For a dedicated event cover field, add an image field and use the image shortcode and field wrapper documented in media and inline editing.
8. Read the same resource over the API
Create a separate user with API access and a role with view-events. Keep its password outside tracked files. POST its credentials as JSON to /api/v1/auth/token to obtain a short-lived token, then set your local calling environment's NIMBLY_DEMO_URL and NIMBLY_DEMO_TOKEN.
curl "$NIMBLY_DEMO_URL/api/v1/events?filter=published:1&sort=date%7Casc" \
  -H "Authorization: Bearer $NIMBLY_DEMO_TOKEN"
The response contains an events object keyed by record UUID, plus response status and count. A query filter selects published records; it does not replace role authorization. Confirm that requests without a valid token are denied and that the integration role cannot edit events.
See the API reference and OpenAPI description for the existing endpoint contract.